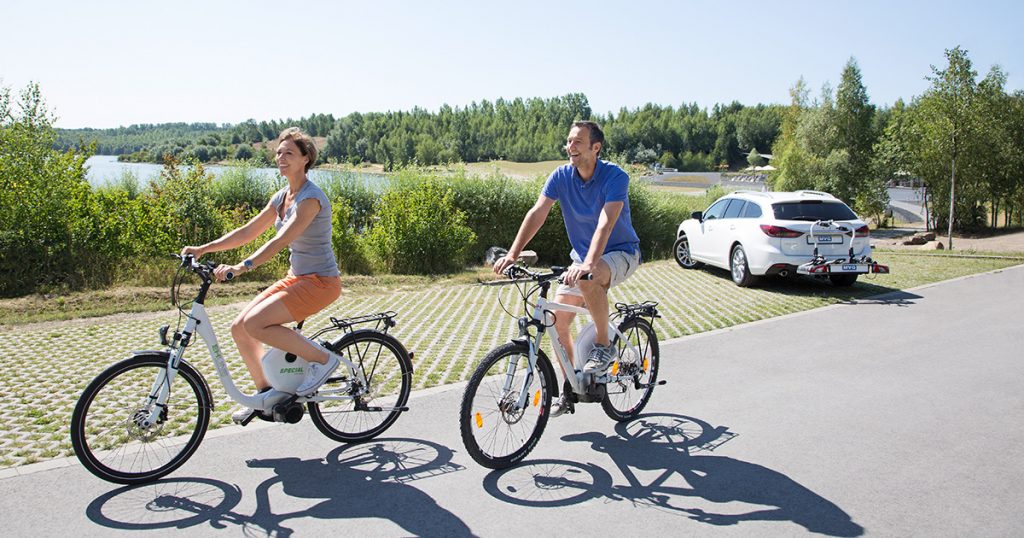
How to transport your bikes with bike carriers

The bicycle has become an important part of our society. Many use the two-wheelers for short distances to escape the heavy city traffic and to get faster from A to B. For some, cycling is the most popular sport and furthermore it is often used for longer distances. With the beginning of spring, there is of course the opportunity for a bike tour on vacation or short break. But before you can get started, you should first clarify which type of bike carrier is suitable for your car, because not every model can be mounted on every vehicle.
Roof carrier
With a wheel track for the roof rack, you can transport up to four or, depending on the space, more bicycles on the vehicle roof. You can attach and remove the roof rack at any time by yourself on the vehicle roof – usually it is attached to the roof rack. Note that you have to lift the bikes up and down on the roof of the vehicle. The additional cargo on the roof shifts the center of gravity of your vehicle upwards, offers greater air resistance and is more susceptible to cross winds.
Rear bike carrier
One of the most practical possibilities of transportation are rear bike carriers, which are easy to install on the vehicle without much effort. For a rear bike rack you need a trailer hitch, the carrier is then attached to the head of the trailer hitch. When loading the carrier, you should always observe the permissible guidelines for your vehicle and the rear bicycle carrier. In our shop you will find the right rear bike carriers in various designs for up to four bicycles.
You should consider…
When driving with a rear bike carrier, get off the gas. ADAC recommends a top speed of 120 km / h. If the carrier or the bicycles attached to it hide the vehicle’s lights, you should definitely purchase a rear bike carrier that has taillights itself. Alternatively, you can attach additional brake lights to the rack so that you remain visible. If the vehicle’s lights are covered, you must expect a fine of € 20. In some cases, racks and / or bicycles can also hide the license plate, in this case you will need to get a second license plate and attach it to your bike rack. Anyone who cannot show a visible license plate at a police check must expect a fine of € 60. Movable objects such as bicycle baskets or child seats should be stowed inside the vehicle to minimize the safety risk while driving.
The Easter holidays in Germany will start in a few weeks and if you are planning a bike tour on the way, you should inform yourself beforehand about the country-specific features of the destination. The same applies to transit countries and places. As in Austria, a special license plate on the bike carrier is mandatory in Italy and Spain, for example.
In our shop we offer you various rear cycle carriers, just have a look!

 For the attachment of your trailer hitch or also with the electrical kit we are always sending you an assembly instruction. These instructions explain, how your AHK and / or electrical kit must be put into operation. To help you understand we use pictograms to explain steps or comments, which repeatedly appear in the instructions. In the following paragraphs we are explaining the signs und pictures to you.
 illustration „, the book represents the workshop manual and refers you to this.